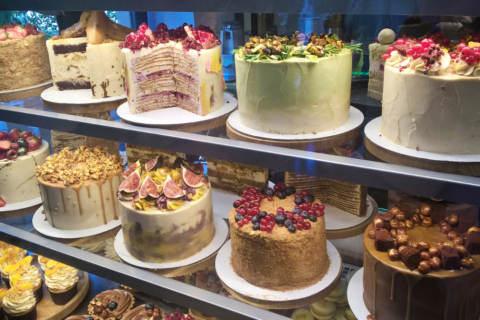
Baking a cake is a delightful journey that involves creativity, precision, and a touch of magic. But beyond the delectable flavors and exquisite decorations, a crucial aspect of cake presentation often goes unnoticed – the foundation. Cake circles and cake pads, though seemingly mundane, play a vital role in elevating your cake creations to a professional level.
In this blog post, we will delve into the world of cake circles and cake pads, exploring their uses, benefits, and tips for mastering their application.
- The Basics of Cake Circles and Cake Pads:
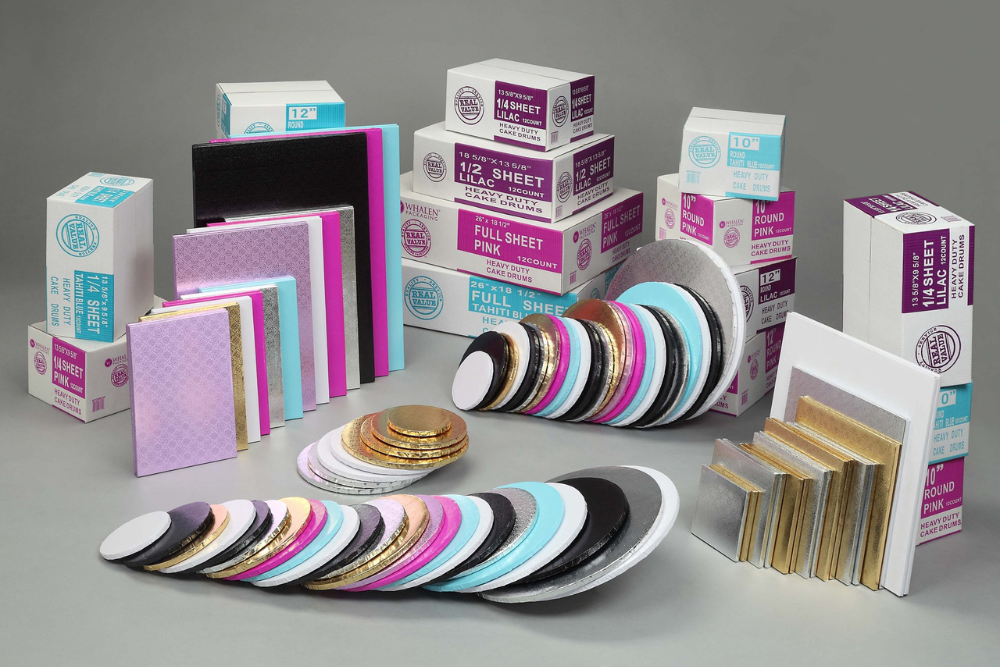
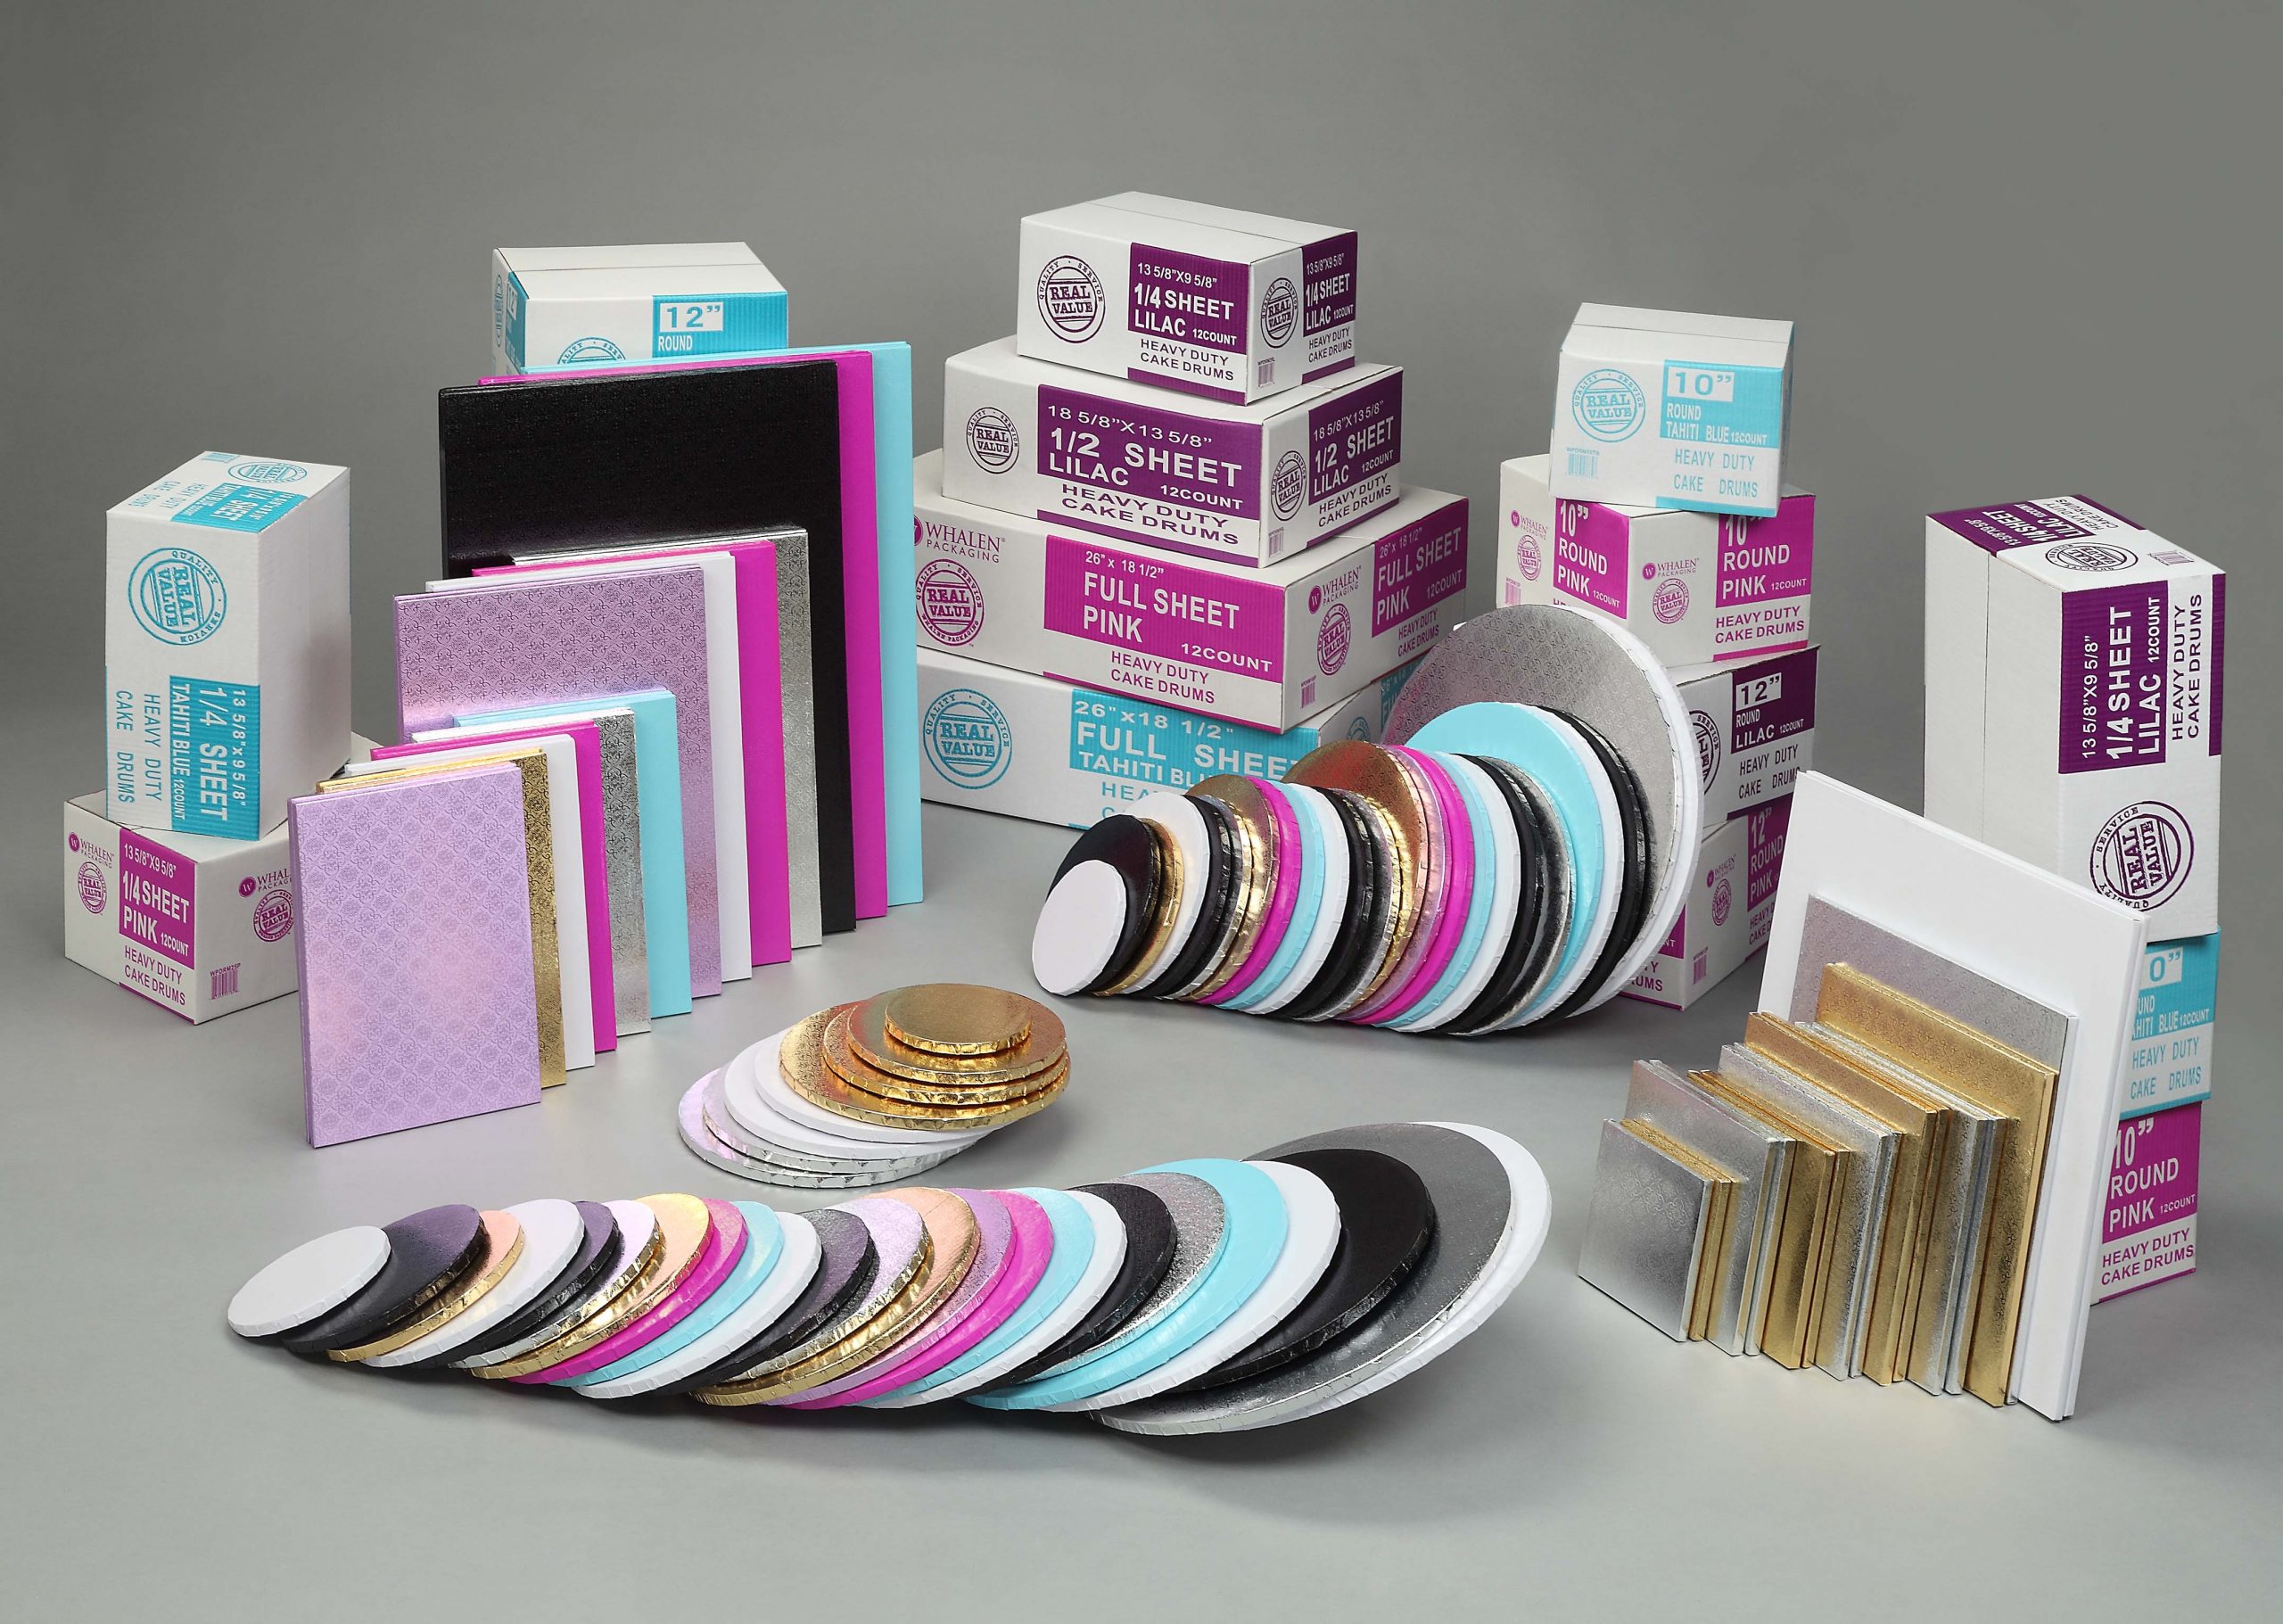
Cake circles and cake pads are sturdy, circular bases that provide support and stability to your cakes. Baker’s Buddy offers them in various sizes, materials, and thicknesses to suit different cake types and sizes. Cake circles are typically made from materials like cardboard, foam, or corrugated plastic, while cake pads are often made from thicker boards, such as MDF (Medium Density Fiberboard).
- Benefits of Using Cake Circles and Cake Pads:
- Stability and Support: Placing your cake on a sturdy base prevents it from sagging, tilting, or collapsing, ensuring a visually appealing presentation.
- Easy Transportation: When you need to transport your cake, a cake circle or pad acts as a reliable platform that prevents the cake from shifting during transit.
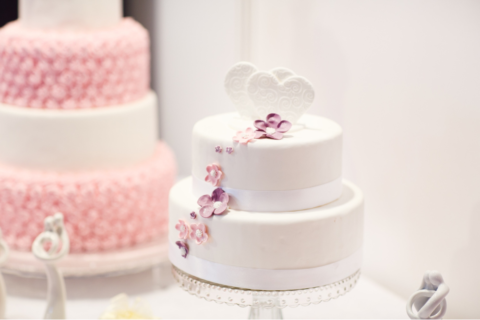
- Professional Presentation: Cake circles and pads create a clean, polished look for your cakes, making them appear more professional and appealing.
- Decorative Canvas: These bases can be covered with fondant, icing, or decorative paper to complement your cake’s design and theme.
- Selecting the Right Size and Material:
- Size Matters: Choose a cake circle or pad that matches the diameter of your cake. A larger size can lead to instability, while a smaller one might not provide enough support.
- Material Choice: For lightweight cakes, like sponge or chiffon, cardboard circles work well. For heavier cakes, such as tiered or fondant-covered cakes, opt for sturdier materials like foam or MDF cake pads.
- How to Use Cake Circles and Cake Pads:
- Step 1: Level Your Cake – Trim the top of your baked cake to create a flat surface.
- Step 2: Apply Frosting or Filling – Spread your chosen frosting or filling evenly over the cake layers.
- Step 3: Place on Cake Circle or Pad – Gently lift the frosted cake and center it on the cake circle or pad.
- Step 4: Crumb Coat – Apply a thin layer of frosting, known as a crumb coat, to seal in any crumbs and create a smooth surface.
- Step 5: Chill – Place the cake in the refrigerator to allow the crumb coat to set.
- Step 6: Final Frosting and Decoration – Once the crumb coat is firm, apply your final layer of frosting and decorate your cake as desired.
- Tips for Success:
- Use Non-Slip Mat: To prevent the cake from sliding on the base, place a non-slip mat between the cake and the circle or pad.
- Covering the Base: Wrap the cake circle or pad with aluminum foil, decorative paper, or fondant for an elegant finish.
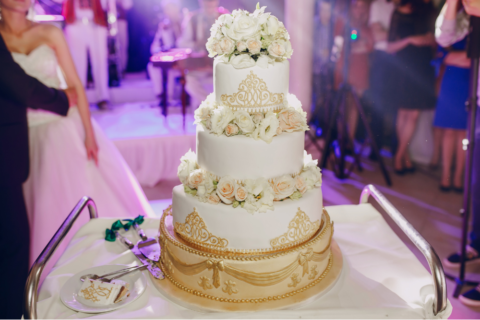
- Stacking Tiered Cakes: When making tiered cakes, insert dowels into the lower tiers to provide additional support and distribute the weight evenly.
In the realm of baking, even the smallest details make a significant difference. Cake circles and cake pads are the unsung heroes that provide stability, support, and a touch of professionalism to your cake creations. By selecting the right size, material, and following proper usage techniques, you can ensure that your cakes stand tall, impressing not only with their flavors but also with their impeccable presentation.
So, the next time you embark on a baking adventure, remember to give your cakes the strong foundation they deserve with the help of Baker’s Buddy. Happy baking!
